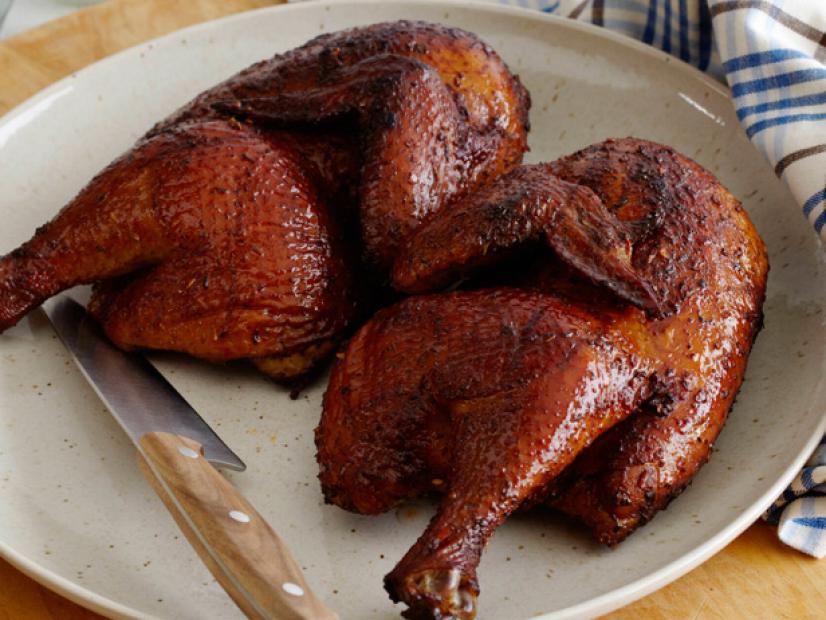
If you have never smoked a chicken you may wonder what all the fuss is about.
Maybe you think that there’s not much difference between smoking and baking where you pop the chicken into the oven for an hour and it’s ready. You can’t see any reason to spend the extra time on smoking it (or brining it, which will be explained later).
But it is not the same at all. When you do it right, a smoked chicken and a baked chicken taste like their very distant cousins. The smoked chicken will win the taste-test every time.
Reasons Why You Should Brine the Chicken
In the process of brining, a mixture of salt and other spices are mixed with water. The meat is immersed and remains in this water so that the brine and all its flavors can be absorbed.
When you smoke meat at low temperatures, the connective tissues are broken down. What you end up with is a piece of very juicy meat that melts in your mouth. You will love it and will prove to yourself that it is well worth the extra time and effort.
Tools and Equipment You Will Need
3 small chunks of dry wood used for smoking – apple, hickory, maple or cherry are the best to use with chicken
A bowl or container large enough to cover the chicken breasts with 2 quarts of water
1 water pan, lined with foil (this will be needed if you will use a charcoal grill)
Small bowl for mixing the rub mixture
Basting brush or a large spoon
An Instant-read meat thermometer
Charcoal
Chimney starter
The Brining Process
First, fill a bowl or some kind of container with 2 quarts of cold water, ½ cup of table salt and ½ cup of white sugar. Mix them well to dissolve the sugar and salt. If you would like the extra flavors, add ¼ cup of soy sauce and a bit of lemon juice and olive oil. This is your brine mixture. Mix them together well, then set it aside.
Next, place the chicken pieces into the brine. All of the pieces should be fully covered by the water. If possible, leave them in the brine overnight to allow them to soak up as much flavor and moisture as possible. However, they can be brined for as little as 30-60 minutes and they will be ready to smoke.
PRO TIP:
You will want to keep the chicken in the refrigerator at all times unless it’s being prepared for the brine or the rub. Aside from health and safety issues, cold meat will absorb the flavors from the smoke much better than meat that has cooled down to room temperature. It will be best to leave it in the refrigerator until the last minute, taking it out just before setting the chicken on the grill.
Apply the Rub to the Chicken
When you’re ready to start grilling, remove the chicken from the refrigerator and take it out of the brine. Dry each piece with paper towels, removing as much water as you can. This will allow the rub to stick to the chicken while it’s smoking.
With the chicken over a bowl or baking sheet, use a spoon to generously cover it and use your hands, rub the spices into the meat. Be sure the whole piece is completely covered.
If the grill is still heating up, return the chicken to the refrigerator.
Prepare the grill for smoking
Fill the chimney of the smoker completely with charcoal with a few pieces placed into the firebox. Light the charcoal and allow it to heat up for about 15 minutes. Both the chimney baffles and the intake should be left open. Wait for it to reach a temperature of 225°F. Before the grill reaches 225°F, lubricate the grill rack with a little bit of canola oil. You can do this with tongs and paper towels that have been dipped in the oil.
This should be done on a clean grill. If it’s not clean, scrub it with a wire brush after it’s begun to heat up, making it easier to brush away any of the old grease that was left from the last time you grilled. Now you can begin to place the wood pieces over the charcoal.
The three vents at the bottom of the grill must be wide open. The top vent also needs to be left open. The foil-lined water pan should be placed on the grill. Put a few hot coals near the pan to make a place for indirect and direct cooking.
Now add the chunks of wood to the charcoal in your preheated grill.
No comments:
Post a Comment